How to Prepare a Risk Register for Construction Projects
Every construction project — from a small building to a large infrastructure development — carries inherent risks. These may include design errors, cost overruns, safety hazards, environmental factors, or equipment failures.
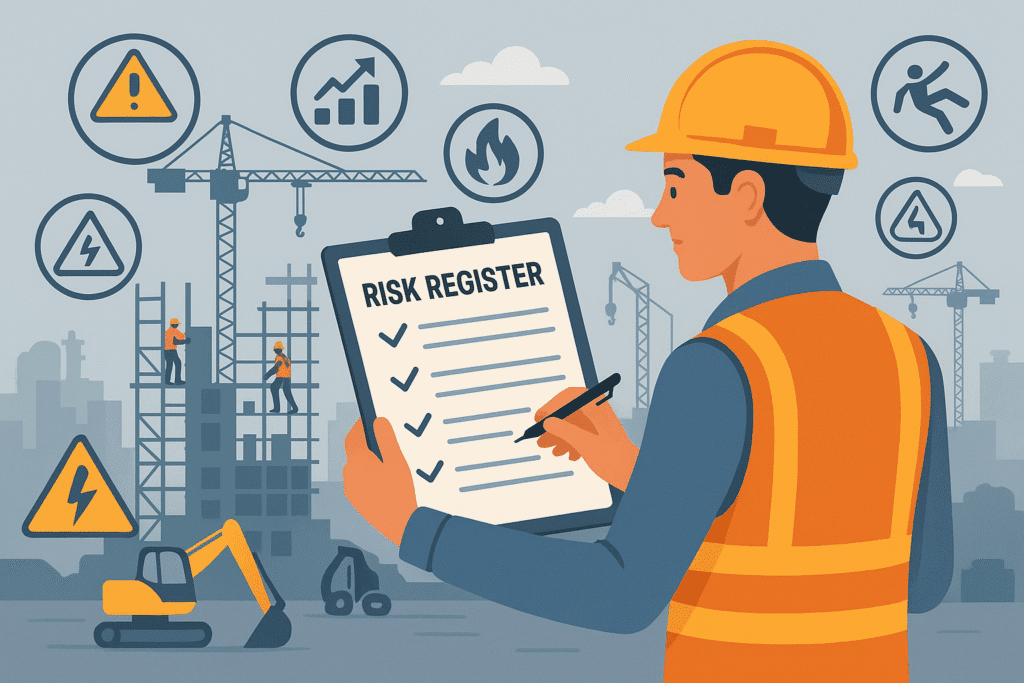
To effectively manage such uncertainties, every project should maintain a Risk Register — a structured tool that helps identify, assess, prioritize, and control potential risks before they impact project success.
In this guide, you’ll learn:
- What a risk register is
- Why it’s crucial in construction
- The step-by-step method to prepare one
- Key elements of a professional risk register
- Common risks and examples
- A free downloadable risk register template
What is a Risk Register?
A Risk Register (also known as a Risk Log) is a centralized document that records all potential risks associated with a project, along with their analysis, ranking, mitigation measures, and status.
Definition
“A Risk Register is a tool used in project management to systematically record, monitor, and control risks that may affect project objectives, such as safety, cost, quality, or schedule.”
In construction, it ensures that hazards and uncertainties are recognized and managed proactively — reducing accidents, delays, and financial losses.
Importance of a Risk Register in Construction Projects
Construction projects are complex, involving multiple contractors, dynamic environments, and heavy machinery. A risk register helps in:
- Early identification of hazards before work begins.
- Systematic assessment of likelihood and impact.
- Prioritization of high-risk activities for focused control.
- Assigning accountability to specific team members.
- Compliance with legal and client safety requirements.
- Reducing incidents and improving project efficiency.
- Supporting decision-making with documented data.
In short — it’s the backbone of risk management in construction safety.
Key Components of a Risk Register
A well-prepared risk register typically includes the following columns or fields:
| Column Name | Purpose |
|---|---|
| Risk ID | Unique number for easy tracking. |
| Activity / Process | Specific task or operation being assessed. |
| Identified Hazard | The potential source of harm. |
| Potential Consequence | What could happen if the hazard occurs. |
| Likelihood (L) | Probability of occurrence (scale 1–5). |
| Severity (S) | Level of impact if the risk materializes (scale 1–5). |
| Risk Rating (L×S) | Combined value to determine priority. |
| Risk Level | Categorized as Low, Medium, or High. |
| Existing Control Measures | Current preventive actions in place. |
| Additional Controls Required | Further measures to reduce risk. |
| Responsible Person | Person accountable for implementation. |
| Target Completion Date | Deadline for control implementation. |
| Status | Open, Ongoing, or Closed. |
Risk Rating Matrix (5×5 Example)
| Severity (S) | Likelihood (L) | 1 – Rare | 2 – Unlikely | 3 – Possible | 4 – Likely | 5 – Almost Certain |
|---|---|---|---|---|---|---|
| 1 – Minor Injury | 1 | 2 | 3 | 4 | 5 | |
| 2 – Moderate Injury | 2 | 4 | 6 | 8 | 10 | |
| 3 – Major Injury | 3 | 6 | 9 | 12 | 15 | |
| 4 – Fatality | 4 | 8 | 12 | 16 | 20 | |
| 5 – Multiple Fatalities | 5 | 10 | 15 | 20 | 25 |
Risk Level Interpretation:
- 🟩 1–5: Low Risk – Acceptable, monitor regularly
- 🟧 6–12: Medium Risk – Control required
- 🟥 15–25: High Risk – Immediate action required
Step-by-Step Guide to Preparing a Risk Register
Let’s go through the process of developing an effective Risk Register for Construction Projects, step by step.
Step 1: Identify All Construction Activities
List every major and minor activity to be performed on-site.
Example:
- Site clearing and excavation
- Foundation and concreting
- Rebar work
- Scaffolding and height work
- Electrical installations
- Painting and finishing
- Lifting operations
- Equipment maintenance
Tip: Break down activities into manageable steps — this improves hazard identification accuracy.
Step 2: Identify Hazards Associated with Each Activity
Each activity can have one or multiple hazards.
Example Table:
| Activity | Hazard |
|---|---|
| Excavation | Collapse of trench wall |
| Welding | Fire, burns, and fume inhalation |
| Electrical Work | Electric shock, arc flash |
| Working at Height | Falling from scaffold or roof |
| Lifting Operations | Load drop, crane failure |
Tip: Involve supervisors and workers in brainstorming — they understand field-level risks best.
Step 3: Determine Potential Consequences
For each hazard, describe the possible impact on people, equipment, or environment.
Examples:
- Injury or fatality
- Property damage
- Work delay or cost overrun
- Environmental contamination
Tip: Consider both direct and indirect consequences (e.g., injury + lost man-hours).
Step 4: Assess Risk (Likelihood × Severity)
Use the risk matrix to calculate the risk score.
Example:
- Likelihood = 4 (Likely)
- Severity = 3 (Major Injury)
→ Risk Rating = 12 (Medium Risk)
Tip: Always assess based on current site conditions and existing controls.
Step 5: Identify Control Measures
Apply the Hierarchy of Risk Controls:
- Elimination – Remove the hazard completely.
- Substitution – Replace hazardous activity/material.
- Engineering Controls – Physical barriers or safety systems.
- Administrative Controls – Procedures, permits, training.
- PPE – As a last line of defense.
Example:
For working at height →
- Provide guardrails and full-body harnesses.
- Conduct permit-to-work.
- Train workers on fall protection.
Step 6: Assign Responsibility
Each risk must have an owner responsible for implementing and maintaining control measures.
Example:
- Site Supervisor → Daily monitoring.
- Safety Officer → Verification and training.
- Project Engineer → Equipment and design compliance.
Step 7: Monitor and Review Regularly
Risk registers are dynamic documents — they must evolve as the project progresses.
Review:
- Weekly during active construction.
- After major project changes.
- After incidents or near-misses.
Tip: Always close outdated risks and add new ones during reviews.
Example of a Risk Register for a Construction Site
| ID | Activity | Hazard | Consequence | L | S | Risk Rating | Risk Level | Existing Controls | Additional Controls Required | Responsible Person | Status |
|---|---|---|---|---|---|---|---|---|---|---|---|
| 001 | Excavation Work | Collapse of trench | Fatal injury | 4 | 4 | 16 | High | Shoring and sloping provided | Inspect daily, restrict access | Site Engineer | Open |
| 002 | Welding | Fire / burns | Major injury | 3 | 3 | 9 | Medium | Hot work permit, PPE | Keep extinguishers nearby | Safety Officer | Ongoing |
| 003 | Working at Height | Fall from scaffold | Fatality | 4 | 4 | 16 | High | Scaffold tags, harness, supervision | Toolbox talk daily | Supervisor | Open |
| 004 | Electrical Work | Electric shock | Fatality | 3 | 4 | 12 | Medium | ELCB, insulated tools | Lockout/Tagout system | Electrician | Open |
| 005 | Lifting Operation | Load drop | Major injury | 2 | 4 | 8 | Medium | Certified crane & slings | Exclusion zone | Lifting Supervisor | Closed |
Best Practices for Preparing a Risk Register
Involve all stakeholders — engineers, safety officers, supervisors.
Use specific and measurable descriptions — avoid vague terms.
Keep risk ratings realistic — not too optimistic or exaggerated.
Integrate with HIRA and Permit-to-Work systems.
Update regularly — after any major project or site change.
Communicate results during toolbox talks or coordination meetings.
Common Mistakes to Avoid
- Creating a generic register copied from another project.
- Ignoring low-probability but high-impact risks.
- Not updating after design or scope changes.
- Missing contractor-specific risks.
- Overcomplicating the format — keep it practical and readable.
- Lack of assigned responsibility for controls.
- No follow-up or closure tracking.
Tip: A risk register is only as good as the actions it inspires.
Integration with HIRA and Safety Systems
The Risk Register, HIRA, and Permit-to-Work systems should be interconnected:
| System | Purpose | Relation to Risk Register |
|---|---|---|
| HIRA | Identify task-level hazards | Feeds data into the risk register |
| Risk Register | Summarize and prioritize all risks | Central monitoring tool |
| Permit-to-Work | Control high-risk activities | Implements risk register controls |
This integration ensures consistency and reduces duplication.
Benefits of a Construction Risk Register
Improves overall site safety.
Supports compliance with ISO 45001 and client audits.
Enhances risk visibility and communication.
Enables data-driven decision-making.
Reduces downtime, rework, and costs.
Builds trust with clients and stakeholders.
Example Risk Review Schedule
| Review Type | Frequency | Responsible Person |
|---|---|---|
| Routine Site Risk Review | Weekly | Safety Officer |
| Project Risk Register Update | Monthly | HSE Manager |
| Incident-Based Review | After any incident | Project Manager |
| External Client Review | Quarterly | Audit Team |
| Final Project Risk Review | Project Closeout | HSE Head |
Internal Links
- How to Conduct an Internal HSE Audit | Checklist Included
- Safety Walkthrough vs Safety Audit
- Construction Site Risk Assessment: Key Hazards and Controls
- Common Mistakes in HIRA and How to Avoid Them
- Fire Risk Assessment in the Workplace – Complete Guide
External References
Conclusion
Preparing a Risk Register for Construction Projects is not just a documentation task — it’s a vital process that ensures the safety, quality, and efficiency of your project.
A well-maintained register helps teams:
- Identify and prioritize risks,
- Assign ownership,
- Track progress, and
- Build a proactive safety culture.
“If you don’t track your risks, your risks will track you.”
Start today — use the free template provided and integrate the risk register into your daily safety management practices.
 Explained")


")


")
 Explained")


")
")
")


